When it comes to enjoying authentic Greek cuisine, nothing quite compares to the soft, warm embrace of homemade Greek pita bread. Forget the dry, pre-packaged versions; learning
how to make Greek pita gyro bread at home is a culinary revelation. This flatbread isn't just a vehicle for your favorite fillings; it's a star in its own right, boasting a tender crumb and a subtly chewy texture that elevates any meal. Perfect for hearty gyros, succulent souvlaki, or simply dipping into creamy tzatziki, this easy recipe will transform your kitchen into a Greek taverna.
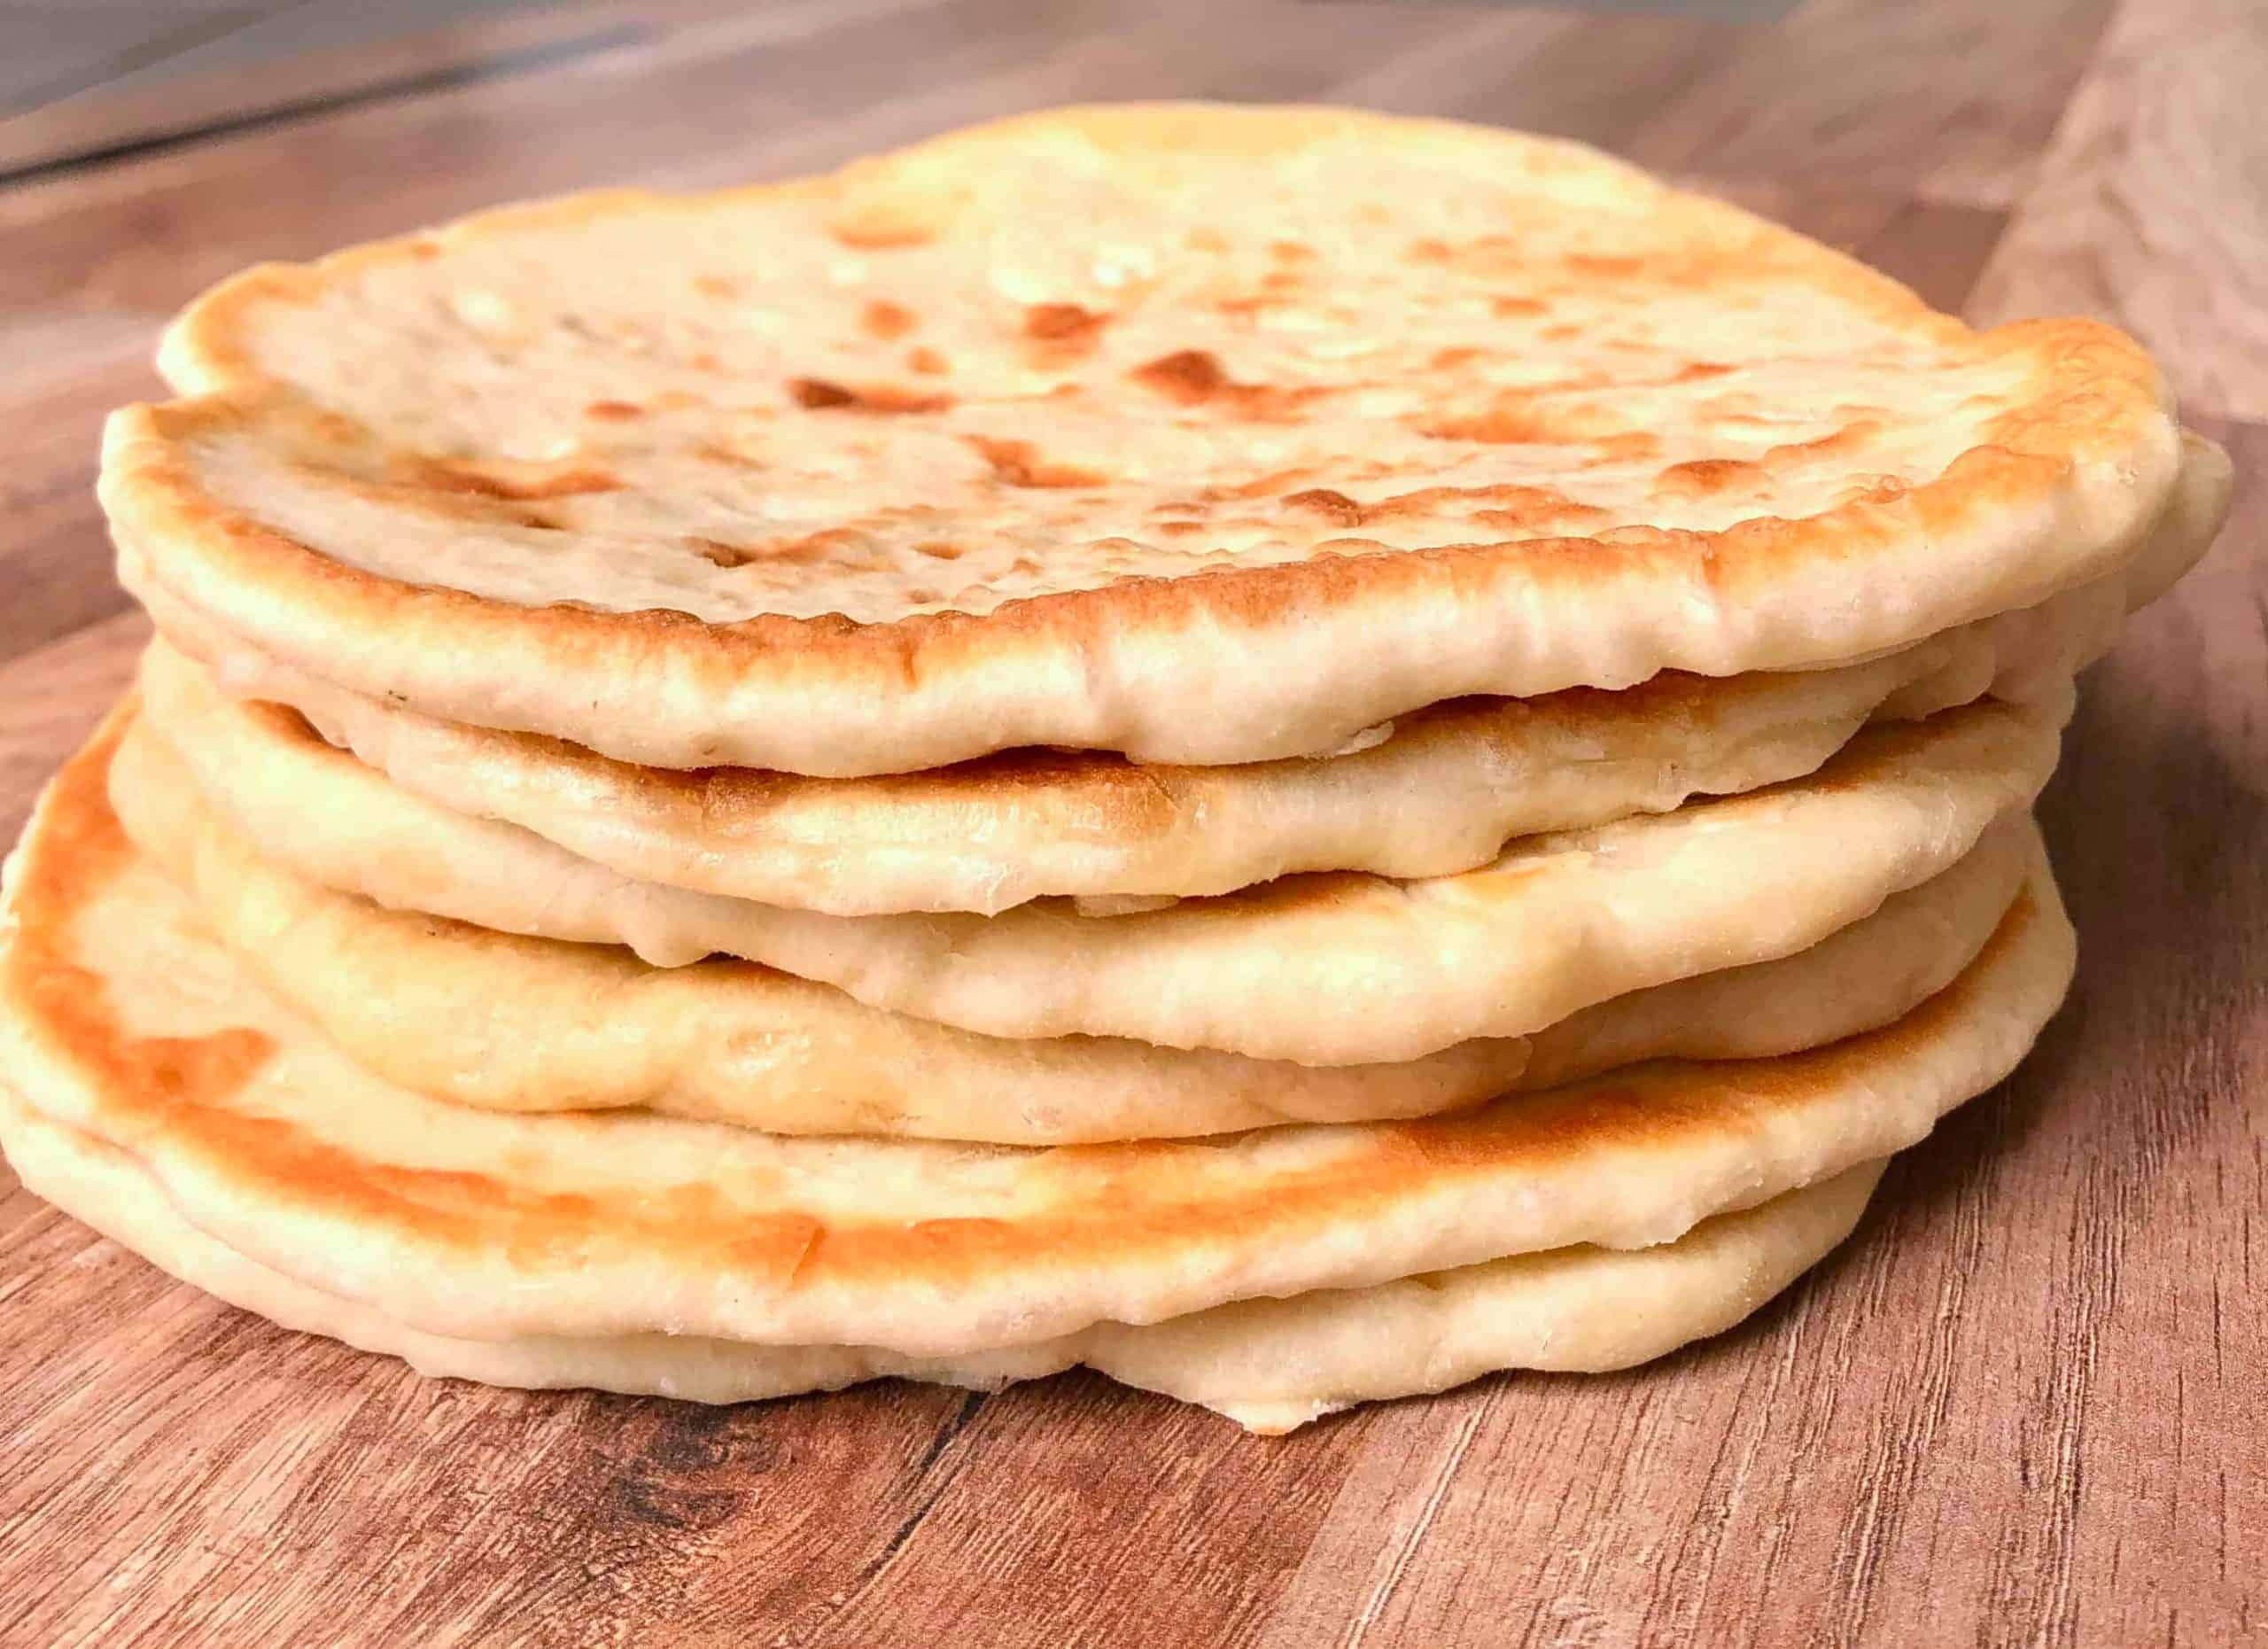
Why Homemade Greek Pita is a Game-Changer for Your Gyros
The difference between store-bought and homemade Greek pita is truly night and day. Freshly baked, these flatbreads offer an unparalleled softness and a delicate flavor that mass-produced options simply can't replicate. Unlike its Middle Eastern counterpart, Greek pita is distinctly "pocketless," designed to cradle fillings rather than enclose them. This characteristic makes it ideal for traditional Greek gyros and souvlaki wraps, ensuring every bite is a perfect balance of bread and filling.
Many home bakers might feel intimidated by bread making, but Greek pita is surprisingly straightforward. With just a handful of basic ingredients and a simple process, you can achieve irresistibly fluffy results that will impress family and friends. This recipe is also naturally dairy-free and vegan-friendly, making it a versatile option for various dietary needs. Beyond gyros, imagine serving these warm pitas alongside a vibrant Greek salad, a rich lentil soup, or simply brushed with olive oil and sprinkled with oregano. The versatility and sheer deliciousness of homemade Greek pita make it an essential addition to any home cook's repertoire. You'll quickly discover why making your own is not just rewarding, but completely transforms your Greek dining experience. For more insights into what makes this bread so special, check out our deep dive into
Greek Pita vs. Middle Eastern: Why Pocketless is Best for Gyros.
Essential Ingredients for Your Fluffy Greek Pita (and Why They Matter)
Creating the perfect Greek pita starts with understanding the role of each ingredient. While some recipes might include Greek yogurt for an extra tang and softness, a truly authentic and incredibly fluffy pita can be achieved with just four core components. For those seeking to
Unlock Fluffy Gyro Bread: Secret Ingredients for Easy Greek Pita, here's what you'll need and why:
- Bread Flour: This is the hero of your pita. Bread flour, with its higher protein and gluten content, provides the necessary structure and elasticity for a well-risen, chewy, and tender pita. While all-purpose flour can work in a pinch, bread flour will yield superior results in terms of both texture and rise. The gluten develops during kneading, creating that characteristic stretch and bounce.
- Active Dry Yeast: The leavening agent that makes your pita light and airy. Yeast, when activated with lukewarm water, produces carbon dioxide, causing the dough to rise. It's crucial to ensure your yeast is fresh and properly activated. If your yeast doesn't foam or bubble after a few minutes, it might be inactive, and your dough won't rise.
- Warm Water: The perfect temperature is key for activating yeast. Water between 99-104°F (37-40°C) is ideal – warm to the touch but not scalding hot, which can kill the yeast. This helps the yeast awaken and start its magical work of fermentation.
- Olive Oil: More than just flavor, olive oil contributes significantly to the dough's tenderness and moisture. It helps keep the pita soft and pliable, even after cooking, and inhibits moisture from escaping too quickly, which is great for keeping your gyro wraps from drying out. Using a good quality extra virgin olive oil will also impart a subtle, authentic Mediterranean flavor.
- Salt: A critical flavor enhancer that also plays a role in regulating yeast activity and strengthening the gluten structure. Good quality sea salt or kosher salt will bring out the best taste in your pita, balancing the other ingredients without making it overly salty.
- A Touch of Sugar (Optional): While not strictly essential for the four-ingredient version, a pinch of sugar can give the yeast a little boost, helping it activate more quickly and ensuring a robust rise. It doesn't make the pita sweet, but rather aids in the fermentation process.
- Greek Yogurt (Optional, for extra fluffiness): If you want to add an extra layer of softness and a slight tangy note, incorporating a spoonful or two of plain Greek yogurt (at room temperature) can work wonders. It adds moisture and richness, resulting in an even more tender crumb. If using, simply mix it in with the wet ingredients.
Step-by-Step Guide: How to Make Greek Pita Gyro Bread from Scratch
Making homemade Greek pita is a meditative process that rewards you with incredible flavor and satisfaction. Follow these steps carefully for the best results:
- Activate the Yeast: In a small bowl or measuring cup, combine your warm water (99-104°F/37-40°C) with the active dry yeast and, if using, a pinch of sugar. Stir gently and let it sit for 5-10 minutes. You should see a foamy layer form on top, indicating the yeast is active and ready. If not, your yeast may be old, and it's best to start with a fresh batch.
- Combine Dry Ingredients: In a large mixing bowl, whisk together the bread flour and salt. Create a well in the center of the flour mixture.
- Mix the Dough: Pour the activated yeast mixture and the olive oil (and Greek yogurt, if using) into the well of the dry ingredients. Using a sturdy spoon or a dough whisk, mix everything together until a shaggy, rough dough forms.
- Knead the Dough: Turn the dough out onto a lightly floured surface. Knead the dough for about 8-10 minutes. At first, it might be sticky, but as you knead, it will become smooth, elastic, and less tacky. The goal is to develop the gluten, which gives the pita its structure. You can test for proper kneading by gently stretching a small piece of dough; if it stretches thin enough to see light through it without tearing (the "windowpane test"), your gluten is well-developed.
- First Rise (Bulk Fermentation): Lightly grease a clean bowl with olive oil. Place the kneaded dough in the bowl, turning it once to coat with oil. Cover the bowl tightly with plastic wrap or a damp kitchen towel. Let the dough rise in a warm, draft-free place for 60-90 minutes, or until it has roughly doubled in size. The exact time will depend on the ambient temperature.
- Divide and Shape: Once the dough has risen, gently punch it down to release the air. Turn the dough out onto a lightly floured surface and divide it into 8-10 equal portions (about 80-100g each). Roll each portion into a smooth ball. Cover the dough balls with a clean kitchen towel and let them rest for 10-15 minutes. This resting period helps relax the gluten, making the dough easier to roll.
- Roll Out the Pitas: Take one dough ball at a time and, on a lightly floured surface, use a rolling pin to roll it into a round, flat circle about 6-8 inches (15-20 cm) in diameter and about ⅛ inch (3-4 mm) thick. Don't roll them too thin, as Greek pita is meant to be thicker and more substantial than some other flatbreads. Repeat with the remaining dough balls, placing the rolled pitas on parchment paper or a lightly floured surface, covered, while you work.
- Second Rise (Proofing): Allow the shaped pitas to rest for another 15-20 minutes, lightly covered, before cooking. This brief proofing helps them puff up nicely on the griddle.
- Cook the Pita: Heat a cast-iron skillet, heavy-bottomed frying pan, or griddle over medium-high heat. You want it hot but not smoking. Do not add oil to the pan. Place one pita at a time onto the hot, dry pan. Cook for 1-2 minutes per side, or until golden brown spots appear and the pita puffs up. You might see some beautiful blisters form. Flip and cook the other side until it's also golden. The goal is a soft, pliable pita, not a crispy cracker.
- Keep Warm: As each pita cooks, stack them on a plate and cover them with a clean kitchen towel. This keeps them warm and soft until serving.
Perfect Pairings & Storage Tips for Your Homemade Pita
Now that you've mastered
how to make Greek pita gyro bread, it's time to enjoy your culinary creation! The beauty of this fluffy flatbread lies in its versatility:
- Classic Gyros: Load them up with marinated pork, chicken, or lamb gyro meat, fresh tomatoes, onions, a sprinkle of paprika, and a generous dollop of homemade tzatziki.
- Souvlaki Wraps: Perfect for wrapping grilled chicken or pork souvlaki skewers, bringing together all the delicious flavors in a neat package.
- Dipping Delight: Serve warm with traditional Greek dips like tzatziki, hummus, melitzanosalata (eggplant dip), or taramosalata. A simple drizzle of olive oil and a sprinkle of dried oregano is also divine.
- Appetizer Base: Cut into wedges and serve with feta cheese, olives, and various spreads for an easy mezze platter.
- Vegan Options: Fill with roasted vegetables, homemade falafel, or grilled eggplant (as mentioned in our reference) for a delicious plant-based meal.
Storage:
Homemade pita is best enjoyed fresh, but you can certainly store leftovers.
- Short Term: Place cooled pita bread in an airtight bag or container at room temperature for up to 2 days. Reheat gently in a dry skillet or microwave for a few seconds to restore softness.
- Long Term: For longer storage, freeze cooled pitas in a freezer-safe bag for up to 3 months. To reheat, you can thaw them at room temperature and then warm them in a skillet, or pop them directly into a preheated oven (around 350°F/175°C) for a few minutes until soft and warm.
In conclusion, embarking on the journey of
how to make Greek pita gyro bread from scratch is a deeply rewarding experience. The simple ingredients, straightforward process, and incredibly delicious results make it a worthwhile endeavor for any home cook. From the moment you mix the dough to the first bite of a warm, fluffy pita, you'll taste the difference that homemade quality brings. So go ahead, tie on your apron, and bring the authentic flavors of Greece into your kitchen. Your perfect wraps are just a few steps away!