Unlock Fluffy Greek Pita: The Secret to Perfect Gyro Bread at Home
There's nothing quite like the aroma of freshly baked bread, and when that bread is soft, pliable, and utterly delicious Greek pita, the experience is elevated. Forget dry, bland store-bought versions – learning
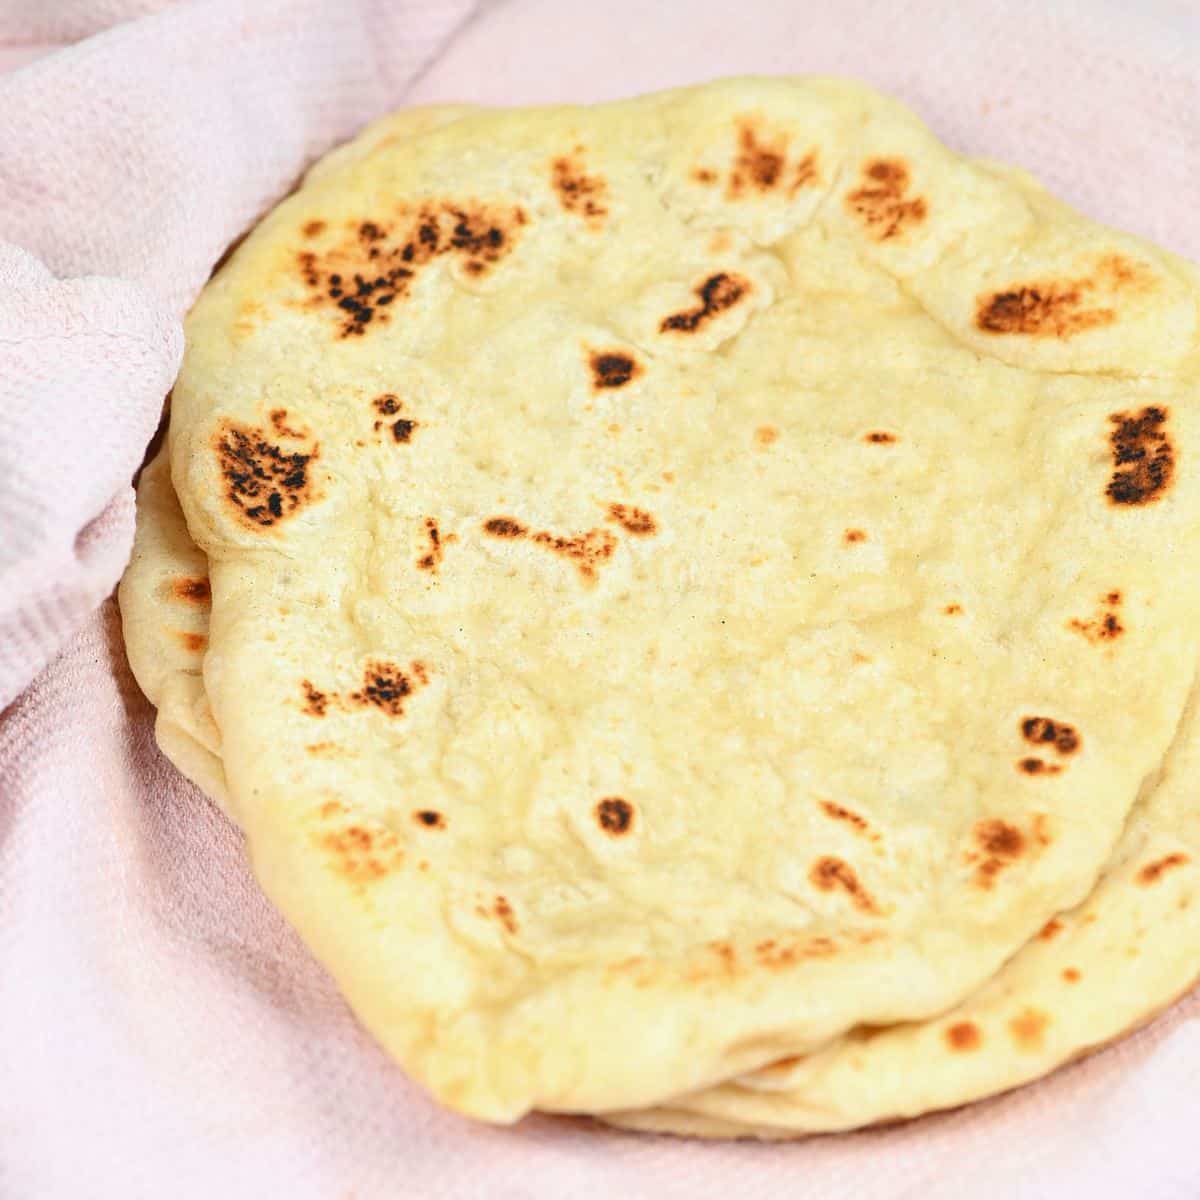
how to make Greek pita gyro bread at home is a culinary revelation that will transform your meals. This isn't just any flatbread; it's a tender, pocketless marvel designed specifically to embrace savory gyro fillings, soak up vibrant tzatziki, or accompany your favorite Greek mezes.
Many people confuse Greek pita with its Middle Eastern counterpart, but there's a crucial difference: authentic Greek pita is intentionally pocketless. This distinct characteristic makes it ideal for folding around succulent meats and fresh toppings, ensuring every bite is packed with flavor without losing any precious ingredients. If you're curious about the nuances, delve deeper into
Greek Pita vs. Middle Eastern: Why Pocketless is Best for Gyros. Our goal today is to guide you through creating incredibly fluffy, flavorful Greek pita that's surprisingly easy to achieve, even for novice bakers.
The Essential Ingredients Behind Fluffy Greek Pita
While many recipes for
how to make Greek pita gyro bread boast simplicity, the magic truly lies in understanding what each ingredient brings to the table. We’ll explore two fantastic approaches: a traditional lean dough and a slightly richer version incorporating Greek yogurt for extra tenderness.
The Core Four: Simple & Authentic
- Bread Flour (or All-Purpose Flour): This is the backbone of your pita. Bread flour, with its higher protein content, develops more gluten, leading to a chewier, more structured pita that still remains soft. While all-purpose flour works, bread flour gives that authentic 'pull'.
- Active Dry Yeast: The leavening agent responsible for that delightful fluffiness. Yeast, when activated, produces carbon dioxide, creating air pockets that make the bread light and airy.
- Lukewarm Water: The catalyst for yeast activation. The ideal temperature range (around 99-104°F / 37-40°C) is crucial – too cold, and the yeast won't activate; too hot, and it can kill the yeast.
- Olive Oil: A quintessential Greek ingredient, olive oil does more than just add flavor. It tenderizes the dough, enhances its elasticity, and helps keep the finished pita moist and supple, making it perfect for rolling without cracking.
- Salt: Beyond just seasoning, salt plays a vital role in regulating yeast activity and strengthening the gluten structure, ensuring a balanced rise and improved texture.
The Secret Ingredient for Ultimate Fluffiness: Greek Yogurt
For those seeking an even softer, slightly tangier, and incredibly fluffy pita, adding Greek yogurt is a game-changer. This "secret ingredient" works wonders:
- Greek Yogurt: It adds moisture, richness, and a subtle tangy note that complements Greek flavors beautifully. The acidity in the yogurt also helps tenderize the gluten, resulting in an exceptionally soft crumb. Ensure it's at room temperature for smooth incorporation into the dough.
- Sugar (Optional, but recommended with yogurt): A pinch of sugar acts as food for the yeast, encouraging quicker and more vigorous activation. It also contributes to a more golden-brown crust.
Having all your ingredients measured and at the correct temperature (especially the water and yogurt) sets the stage for a seamless baking process.
Your Step-by-Step Guide: How to Make Greek Pita Gyro Bread
Making homemade Greek pita is a surprisingly straightforward process that yields incredibly rewarding results. Follow these steps for success:
- Activate the Yeast: In a small bowl, combine your lukewarm water with the yeast (and sugar, if using). Give it a gentle stir and let it sit for 5-10 minutes. You'll know it's active when it becomes foamy and fragrant, indicating the yeast is alive and ready to work its magic.
- Combine Dry Ingredients: In a large mixing bowl, whisk together the flour and salt. If you're using Greek yogurt, ensure it's at room temperature and ready to be added.
- Form the Dough: Once your yeast mixture is bubbly, add it to the flour bowl along with the olive oil (and Greek yogurt, if using). Mix with a sturdy spoon or a dough hook on a stand mixer until a shaggy, rough dough forms.
- Knead the Dough: Turn the dough out onto a lightly floured surface. Knead for 5-7 minutes until it becomes smooth, elastic, and no longer sticky. The olive oil and potential Greek yogurt will contribute to a wonderfully pliable dough. Don't over-knead; Greek pita doesn't require extensive gluten development like some other breads.
- First Rise (Proofing): Lightly grease your mixing bowl with a little olive oil. Place the kneaded dough in the bowl, turning it once to coat. Cover the bowl tightly with plastic wrap or a damp kitchen towel. Let it rise in a warm, draft-free place for 1 to 1.5 hours, or until it has doubled in size. A slightly warm oven (turned off!) is a great spot.
- Divide and Shape: Gently punch down the risen dough to release the air. Transfer it to a lightly floured surface and divide it into 6-8 equal portions (depending on your desired pita size). Roll each portion into a smooth ball.
- Roll Out the Pita: Using a rolling pin, flatten each dough ball into a round, about 6-7 inches in diameter and roughly 1/4 inch thick. Aim for an even thickness to ensure consistent cooking.
- Second Rise (Optional, but beneficial): Place the rolled pitas on a baking sheet lined with parchment paper, leaving some space between them. Cover loosely with plastic wrap or a clean kitchen towel and let them rest for another 15-20 minutes. This short second rise encourages extra fluffiness.
- Cook the Pita: Heat a cast-iron skillet or heavy-bottomed frying pan over medium-high heat until it's very hot – almost smoking. Do *not* add oil to the pan initially. Carefully place one pita into the hot, dry pan. Cook for 1-2 minutes per side. You'll see bubbles form, and the pita will puff up slightly. Flip it when the first side has golden-brown spots. The second side will cook quickly.
- Finish and Serve: As soon as each pita is cooked, remove it from the pan. You can lightly brush it with a little olive oil while it's still warm for extra flavor and softness. Stack the cooked pitas and cover them with a clean kitchen towel to keep them warm and soft until serving.
Tips for the Perfect Pita and Serving Suggestions
Achieving that perfect fluffy Greek pita is incredibly satisfying. Here are some extra tips to ensure your success:
- Don't Overcook: Overcooked pita becomes stiff and tough. Aim for light golden spots, not a hard, crispy crust. The entire cooking process for each pita should be quick, usually under 3-4 minutes total.
- Consistent Heat: Maintain a consistent medium-high heat. If the pan isn't hot enough, the pita will dry out; too hot, and it'll burn before cooking through.
- Even Thickness: Rolling out the pitas to a uniform thickness ensures they cook evenly.
- Resting is Key: Don't skip the resting times. They allow the gluten to relax and the yeast to work, resulting in a tender, fluffy pita.
- Batch Cooking: If cooking for a crowd, keep the cooked pitas warm in a towel-lined basket or a low oven (around 200°F / 95°C) until ready to serve.
Now that you've mastered
how to make Greek pita gyro bread, the possibilities are endless!
- Classic Gyros: Load them up with thinly sliced roasted pork, chicken, or lamb, a generous dollop of tzatziki, fresh tomatoes, onions, and a few crispy fries.
- Souvlaki Wraps: Perfect for holding grilled chicken or pork souvlaki skewers.
- Vegetarian & Vegan Delights: Fill with grilled halloumi, roasted eggplant, falafel, or a medley of roasted vegetables for a delicious meat-free option.
- Dipping: Serve alongside homemade hummus, melitzanosalata (eggplant dip), or of course, the ever-popular tzatziki.
- Appetizers: Cut into wedges and serve with a Greek salad or as part of a mezze platter.
For more creative ideas on how to utilize your freshly baked bread, check out our guide on
Easy Homemade Greek Pita: Fluffy Gyro Bread for Perfect Wraps.
Storing Your Homemade Pita:
Leftover pita can be stored in an airtight container at room temperature for a day or two. For longer storage, freeze the cooked pitas, separated by parchment paper, in a freezer-safe bag for up to 3 months. Reheat gently in a dry skillet, microwave, or oven until soft and warm.
Conclusion: Your Journey to Perfect Greek Pita Begins Now
Embarking on the journey of
how to make Greek pita gyro bread at home is a decision you won't regret. The difference between homemade and store-bought is monumental – the freshness, the tender texture, and the authentic flavor are simply unmatched. With just a few simple ingredients and a straightforward process, you can bring the taste of Greece directly to your kitchen. So, gather your ingredients, activate that yeast, and prepare to impress your taste buds (and your guests!) with the most delicious, fluffy Greek pita you've ever had. Kali Orexi! (Bon Appétit!)